Hack Of The Week
What to do with a bounty of fresh herbs.
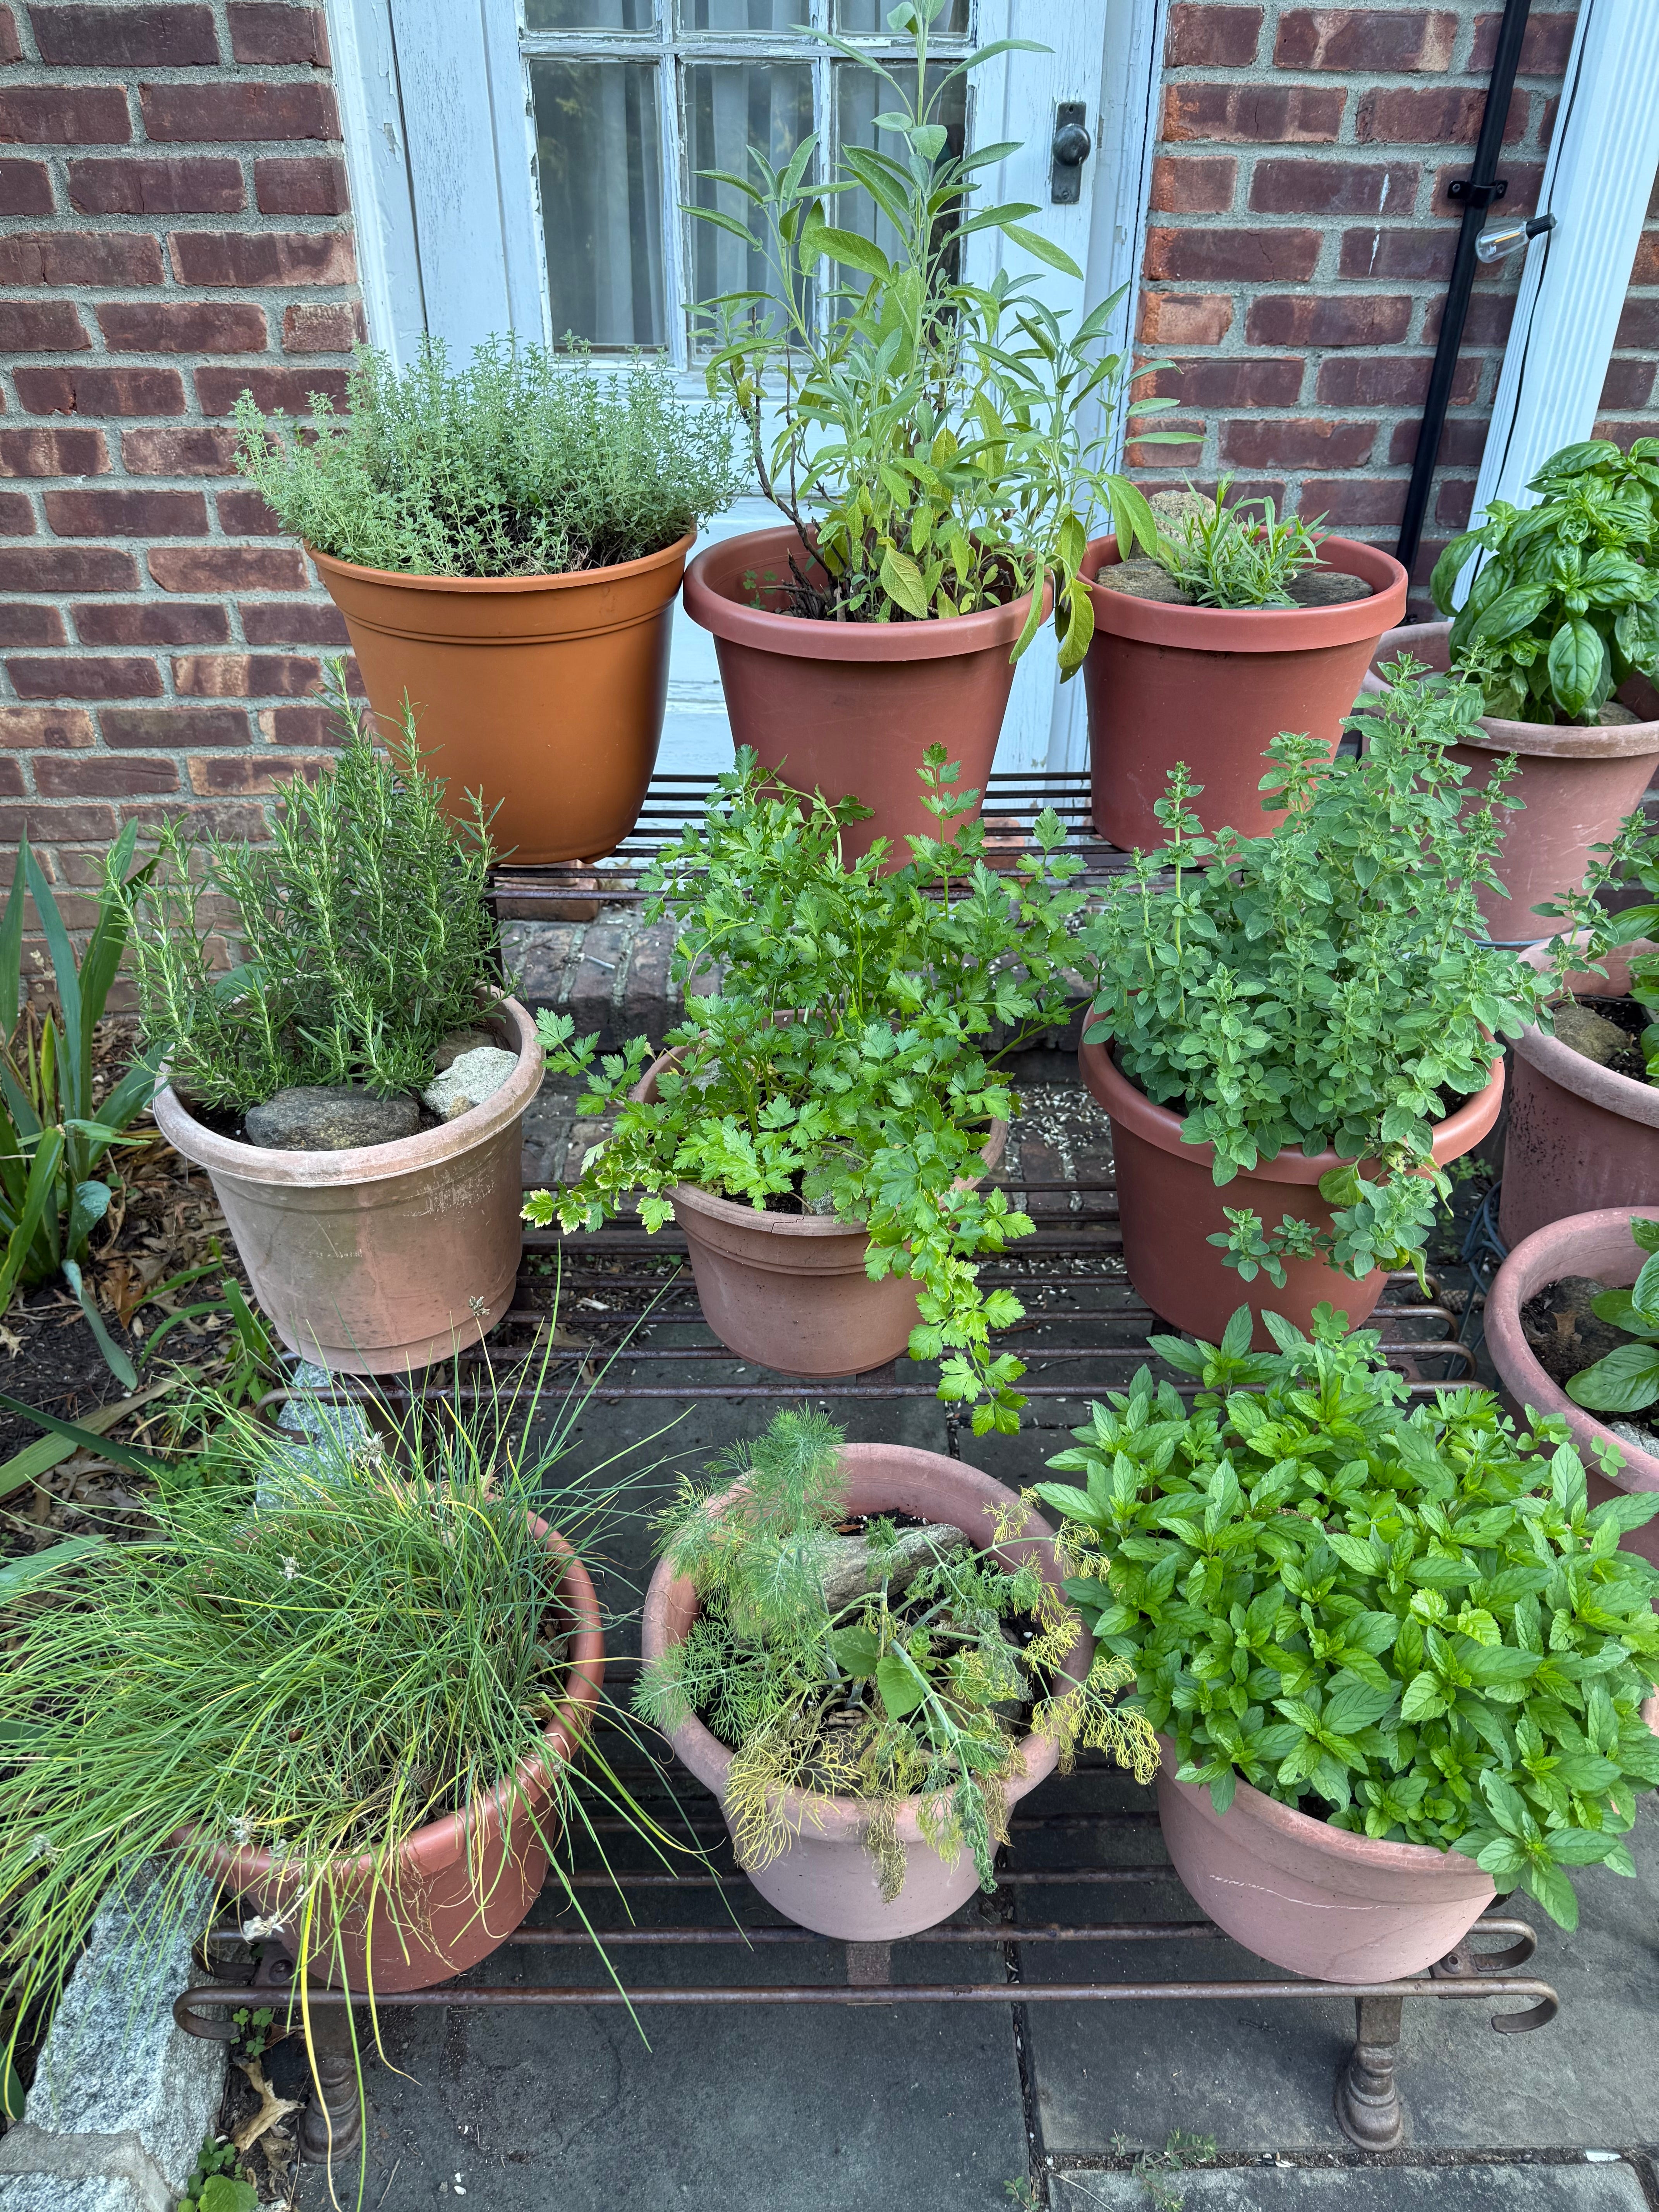
I’ve had an herb garden since even before I became a homeowner with a backyard; my apartment neighbors probably thought using my fire escape to grow plants was strange and perhaps ill-advised, but whatever—I had fresh basil and rosemary whenever I wanted it and they didn’t. Nowadays, I have pots of basil around the patio and a container garden with nine different herbs: thyme, rosemary, sage, tarragon, oregano, mint, dill, chives, and Italian parsley. I cook with fresh herbs as often as possible, but during the height of summer I have way too much to use right away, but I can’t bear to waste them. Summer isn’t the only season when I run into this problem; around Thanksgiving and Christmas, I’ll buy fresh herbs from the grocery store but typically end up with a good portion leftover. What to do?

Over time, I’ve gathered a bunch of ways to utilize and store fresh herbs, and I’ve pulled them out of my back pocket in case they’re useful. First, though, a quick primer on the two kinds of herbs I’m talking about: tender and hard. Tender herbs have soft stems and thin leaves; think basil, parlsey, cilantro, dill, tarragon; chives fall into this category too. Hard herbs have woody stems and their leaves are tougher, like rosemary, thyme, or marjoram. Most of the below methods work for both tender and hard, but I’ve noted where you might need to do something different depending on the type of herb at hand.
STORING FRESH
When I have a batch of fresh herbs and want them to last as long as possible in the fridge, I use one of two methods:
The bouquet method: This is the same idea as putting a bunch of flowers into a vase with water, and it works for both tender and hard herbs. Remove the leaves from the bottom inch or so of the stems in your herb bouquet, and place them in a Mason jar or quivalent filled about 1” of water, then stick it in the fridge. No need to cover the jar with a lid or plastic wrap or anything. Herbs should last about two to three weeks this way, providing you check every few days to make sure the water hasn’t evaporated and you change the water when it becomes cloudy. CAVEAT: This method does not work with fresh basil. I have stored basil stalks in a jar with water on the counter near a sunlight source, in the same way you’d propogate a plant cutting; this way lasts for several days to about a week.
The plastic bag and damp paper towel method: This way is pretty self-explanatory—wrap the herb branches in pieces of slighty damp paper towel (damp, not wet), and store them in a Zip-Loc or another plastic bag with a similar kind of seal. CAVEAT: This method doesn’t work with fresh basil, either. You want to store basil leaves or stems in a plastic bag in the fridge, with *dry* paper towels, and you’re only going to get a few days out of them before they start to turn brown.
FREEZING
If you want the taste of fresh herbs no matter the season, the freezer’s the way to go. Below are three ways to freeze, which all begin with this same step: From a batch of fresh herbs, remove the leaves from the stems and chop them the way you would if you were using them immediately in a recipe. Then:
Chop and stop: Store in bulk either a sealed plastic freezer bag, or in airtight storage containers like the plastic take-out containers from the deli or small glass jars.
Cube and bag: Press the chopped herbs into the cubes of a standard ice cube tray and sprinkle with a couple drops of water; these cubes contain an ounce of liquid, which is equal to two tablespoons. You can fill the cubes to the top (so each cube yields two tablespoons of herbs), or halfway (one cube = one tablespoon). Cover the tray with foil or plastic wrap and freeze until solid, then put the cubes in a sealed plastic freezer bag or airtight container before returning to the freezer to use as needed.
Cube and oil and bag: Follow the above directions using the ice cube tray, but pack each cube only hafway with chopped herbs, then fill the rest of the way with olive oil. Freeze everything solid in the ice cube tray before putting the cubes into a sealed plastic freezer bag or airtight container and returning to the freezer. These oil cubes are great for using in soups, sauces, sautes, pretty much any recipe that calls for olive oil and chopped herbs.
DRYING
This is a simple way to keep herbs around all year long in your spice rack. Two ways I’ve done so:
The vampire bat method (for hard herbs only): Using the same variety of herb, simply tie the stems together with twine or a twist-tie and hang them upside down somewhere in your kitchen or pantry. After they are completely dried—typically in a few days—remove the dried leaves from the stems and store in a sealed container in a cool and dry place like a cabinet or pantry.
Bait and switch method: This works for both tender and hard herbs, but requires a little more work on the front end: From a batch of fresh herbs, remove the leaves from the stems and chop them the way you would if you were using them immediately in a dish. Spread the chopped herbs out on a plate or cookie sheet and let dry for several days; when dried thoroughly, store in a sealed container in a cool and dry place. This method ensures that the leaves dry into smaller pieces that you can measure out easily for recipes or sprinkle over food.
CAVEAT: Surprise! Neither of these methods work for basil (what a problem child); basil leaves have too much moisture and as a result, they go bad if they’re left to dry out slowly. I have not tried using a dehydrator, but there are lots of people who’ve dried out basil this way to success.
If you don’t have the week or so required for the herbs to dry out completely, Serious Eats has method for doing so in the microwave; I haven’t tried it, but it looks like it works well.